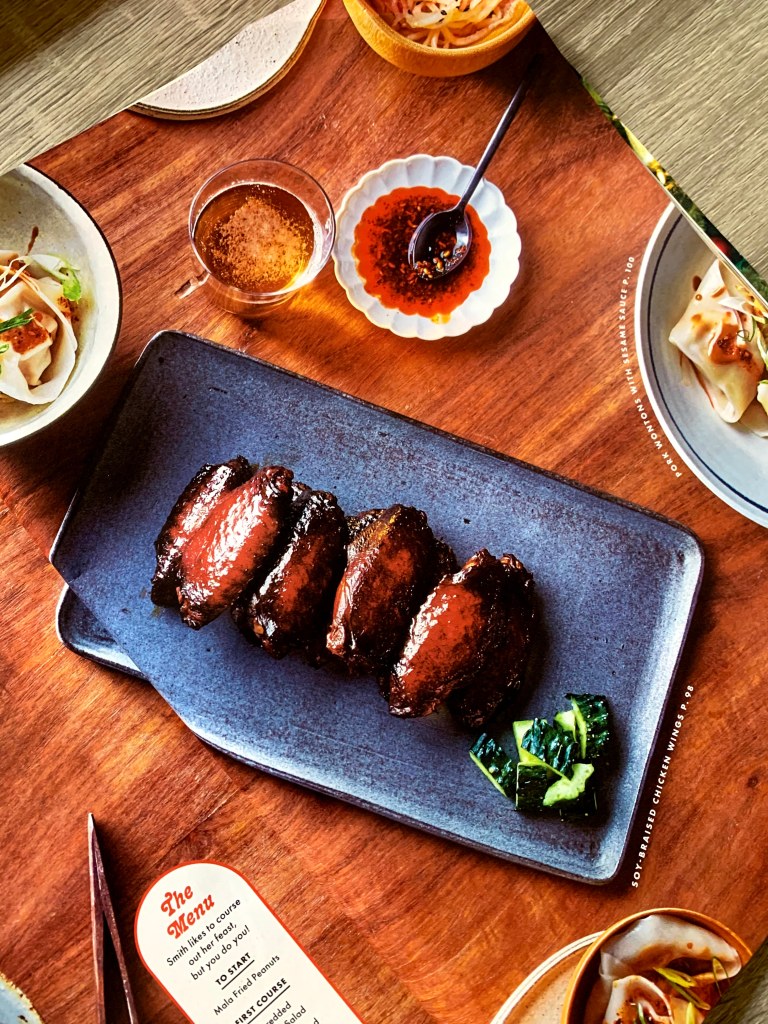
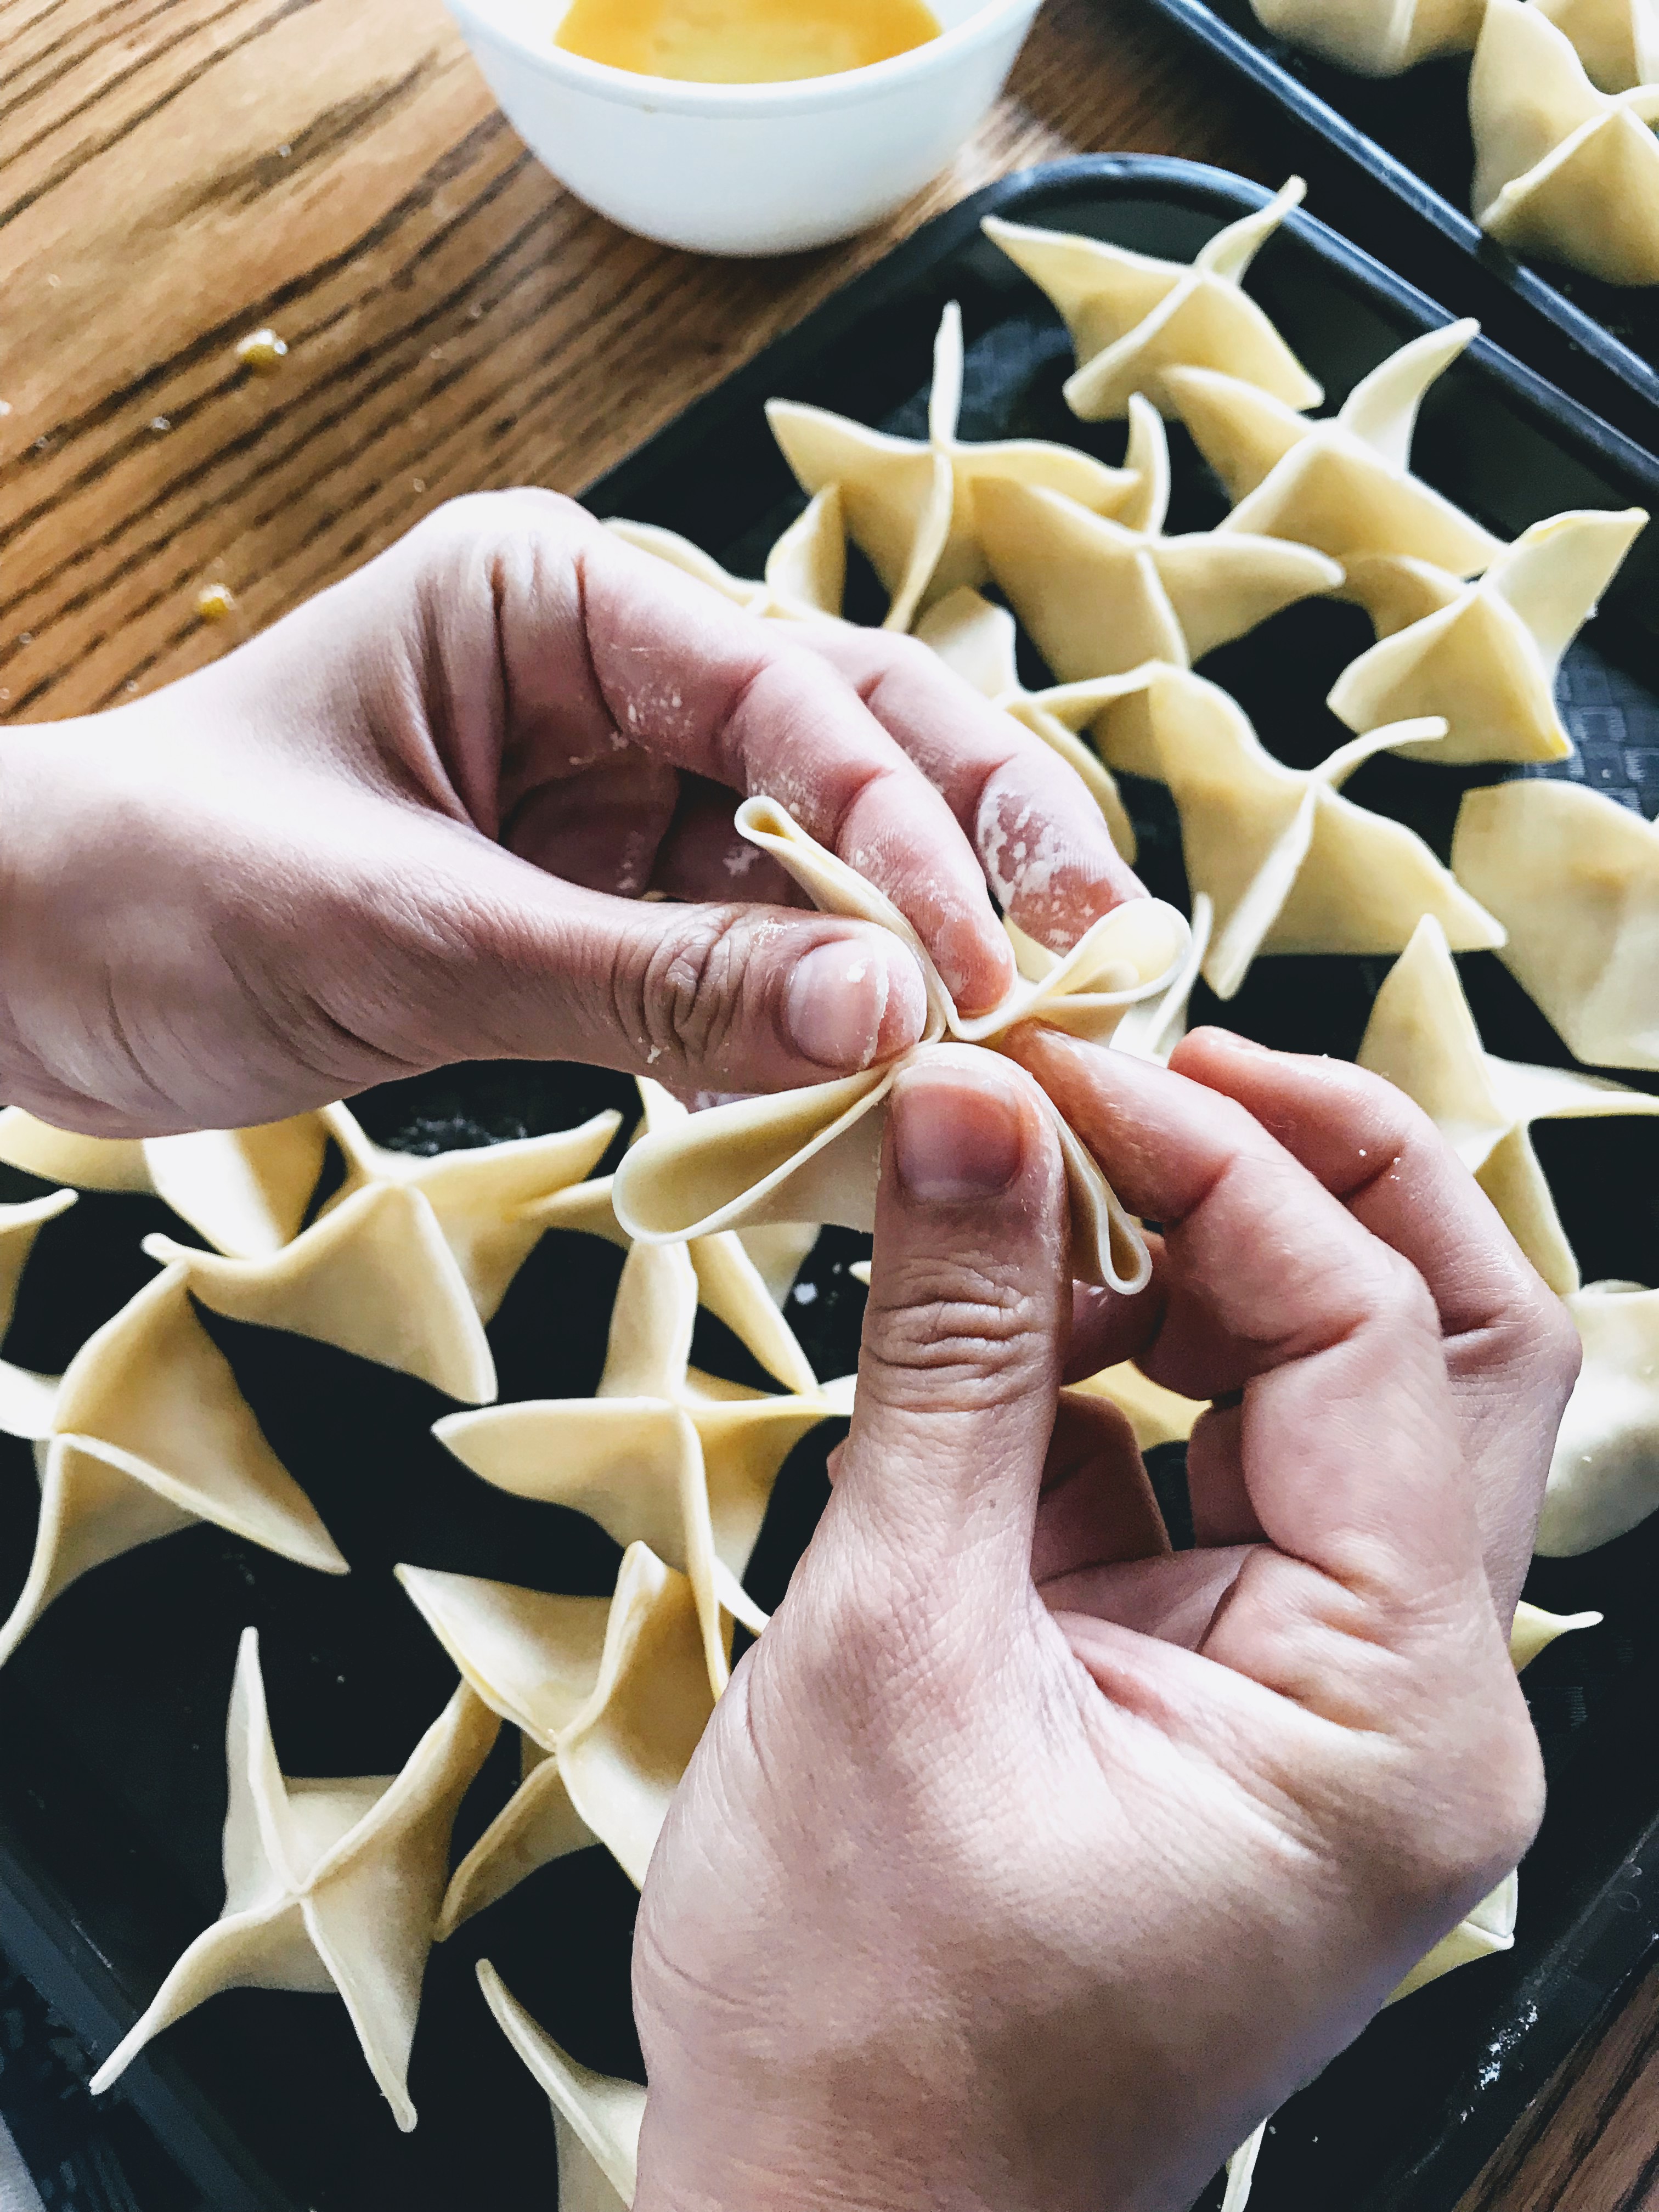
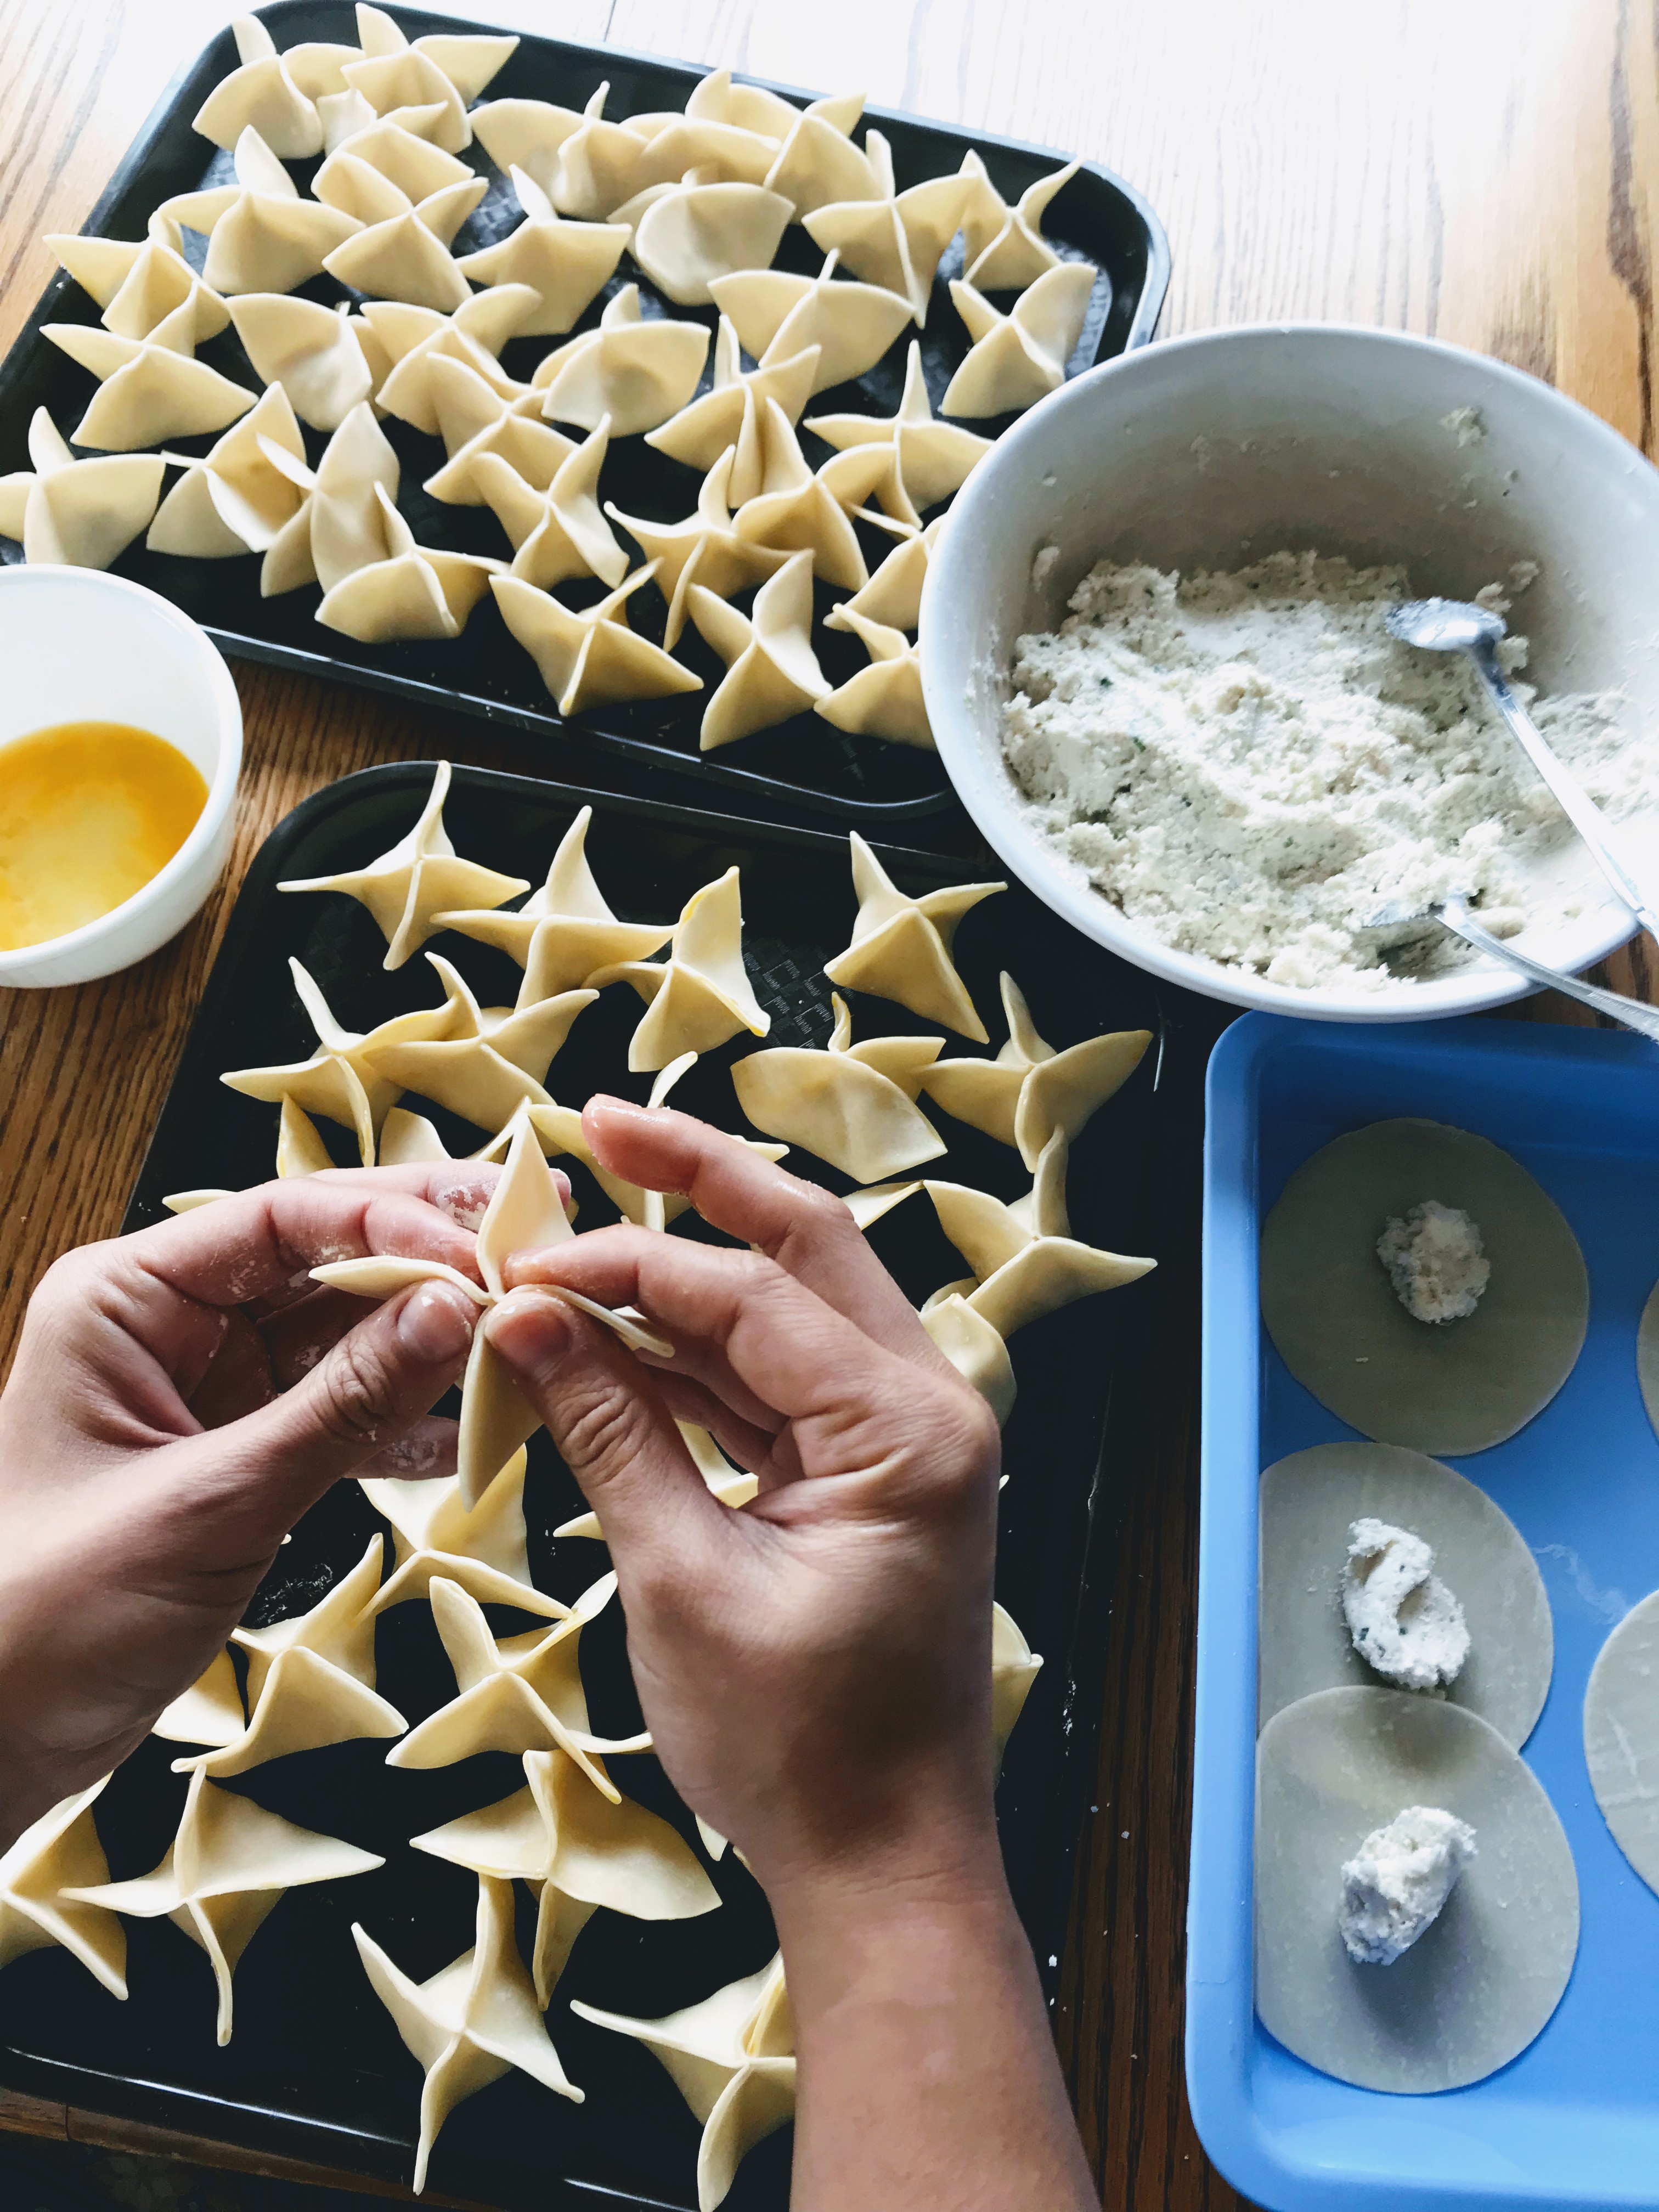
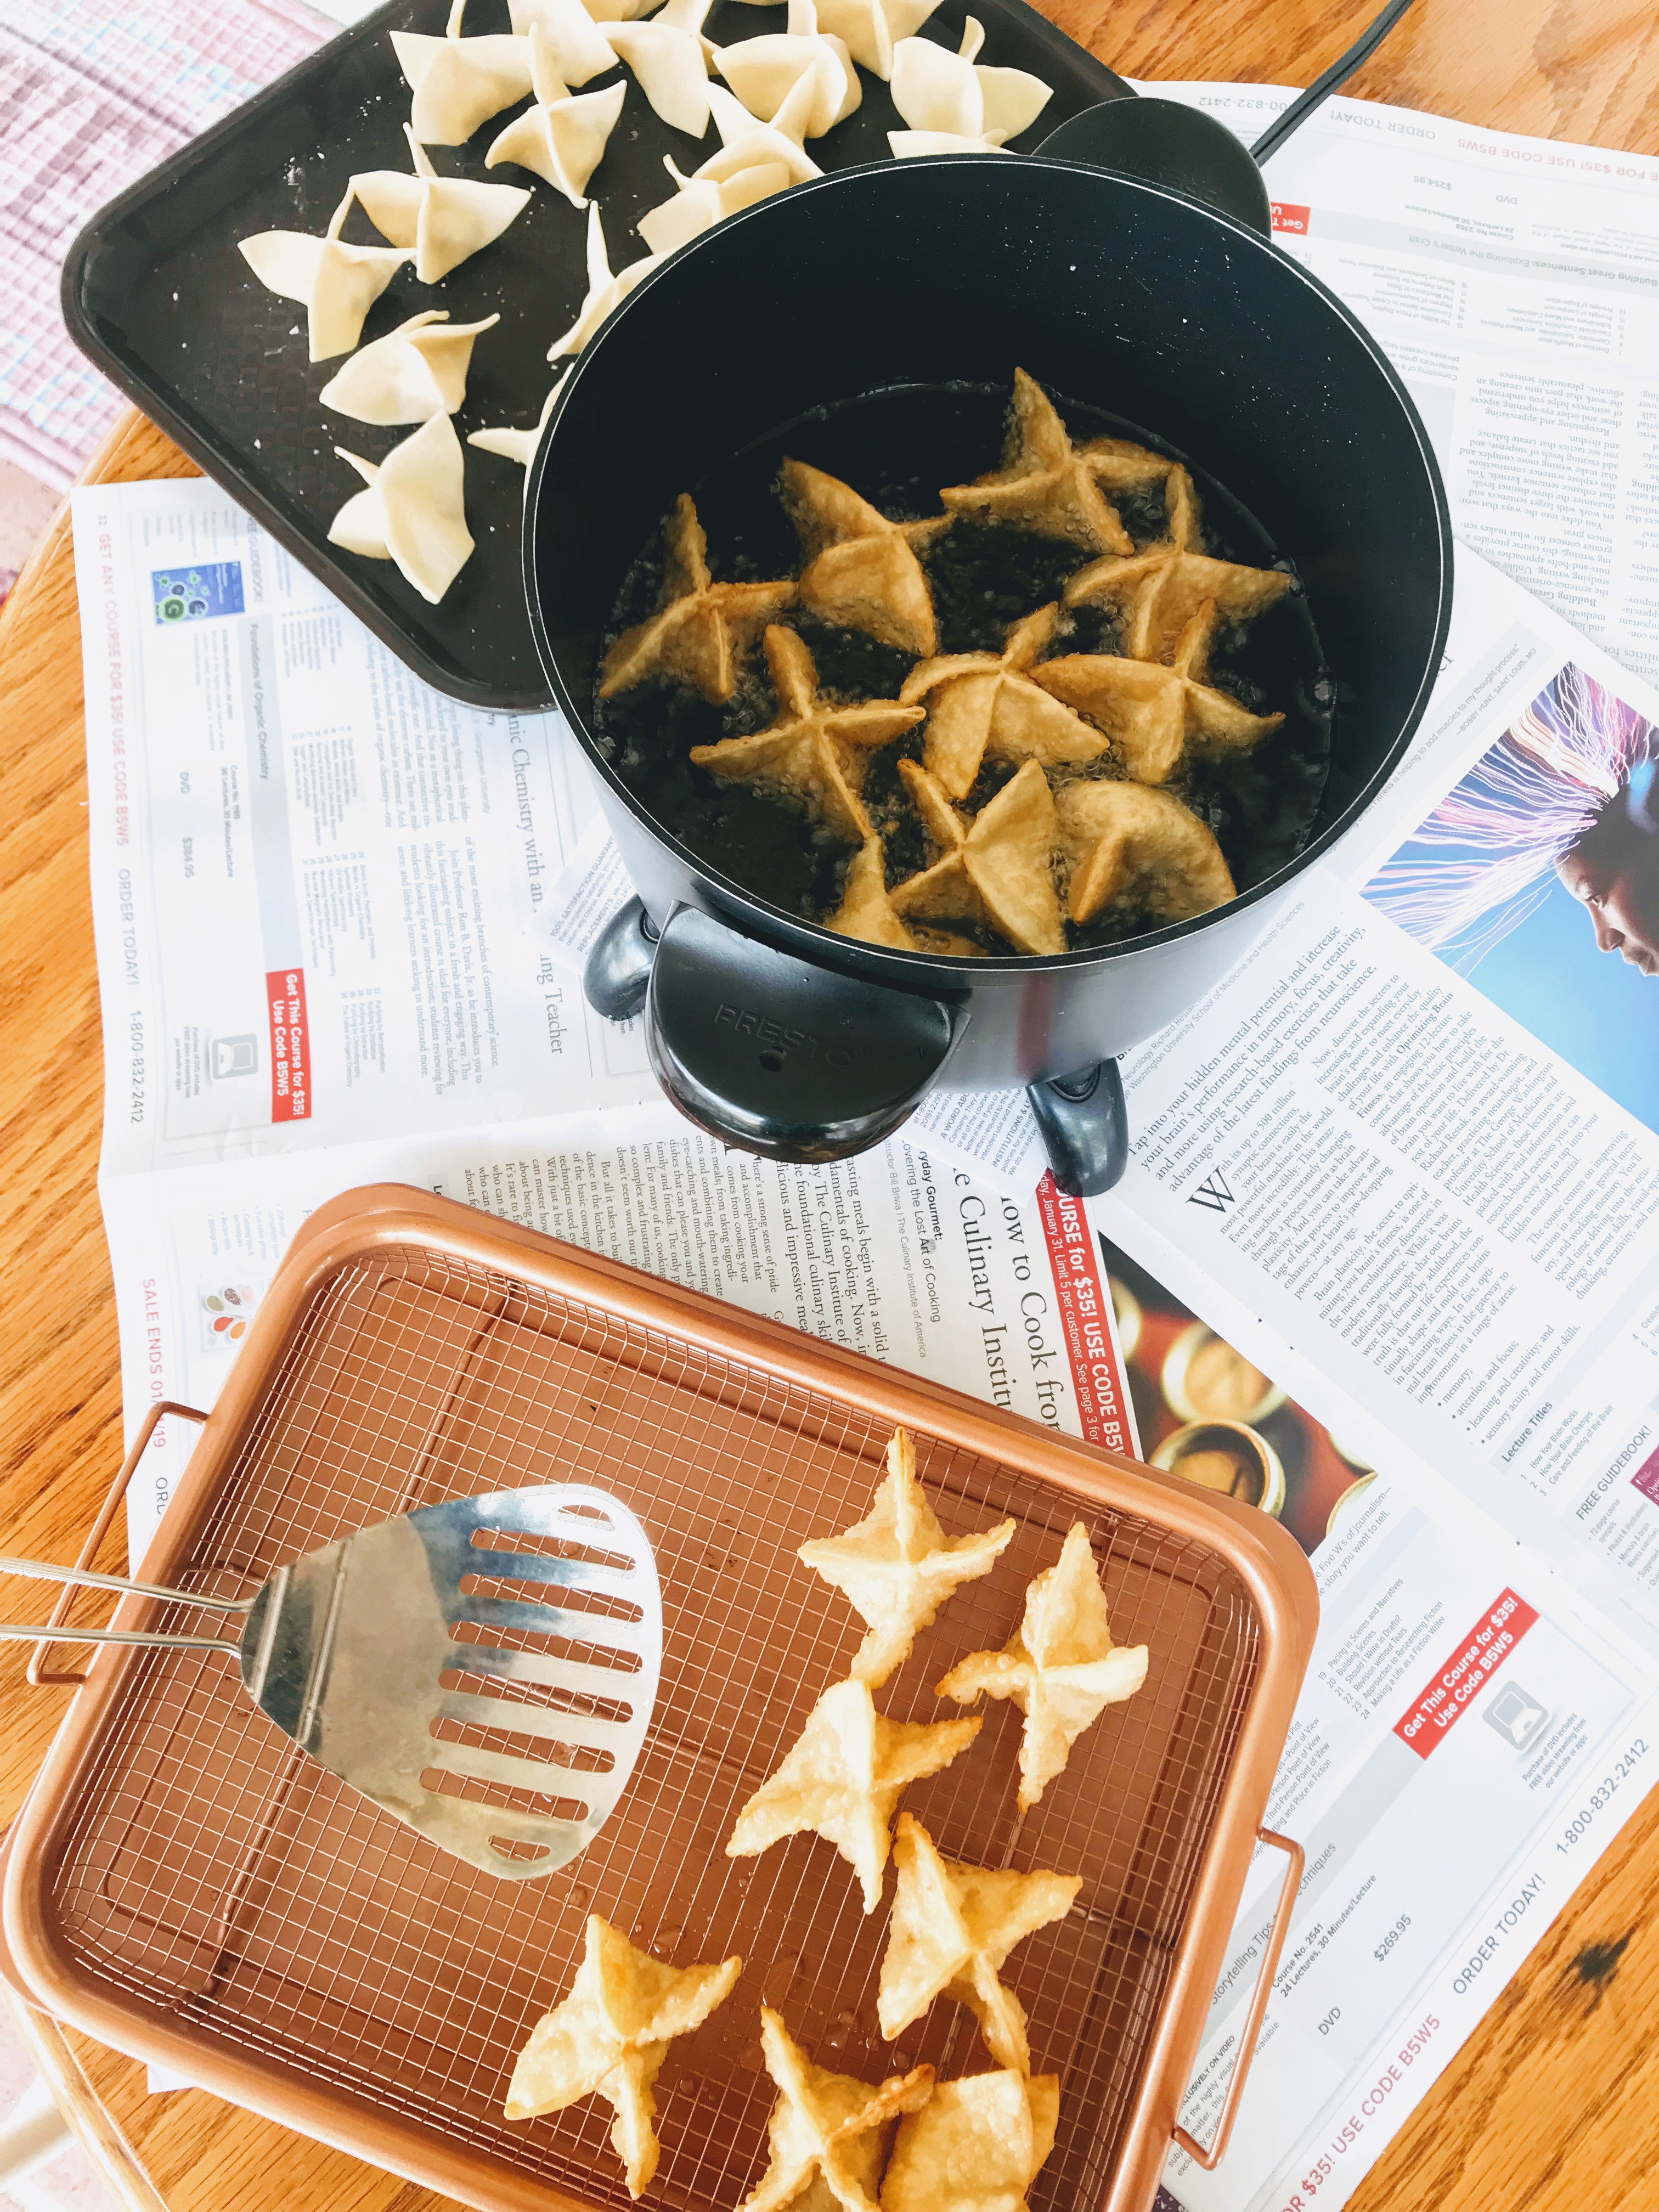
So this week’s dinner was meant to be the Soy-Braised Chicken Wings recipe I found in a Bon Appetit issue. I was missing a bunch of ingredients though, so really this a much adjusted version. The cooking instructions are pretty close, but I had to swap a bunch of ingredients and skip a step or two. No complaints though, still a fan of how this turned out!
Ingredients
- 1/2 cup dark soy sauce
- 2 tsp five-spice powder
- 3 tbsp brown sugar
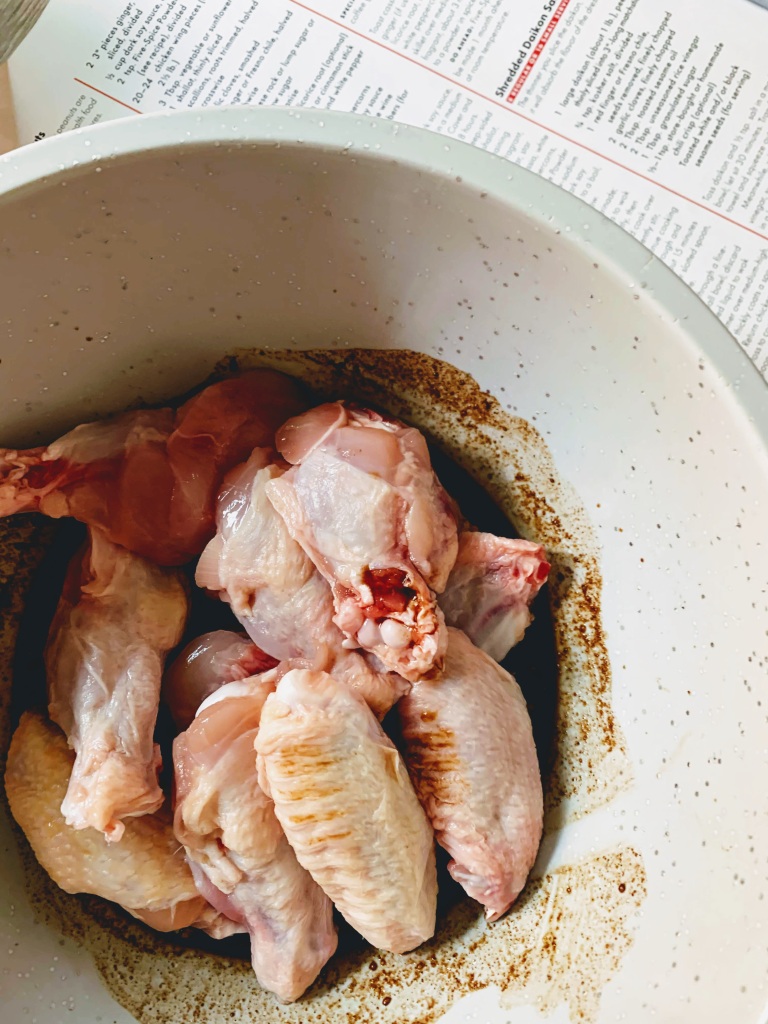
- 12 chicken wings
- 3 Tbsp Sesame Oil
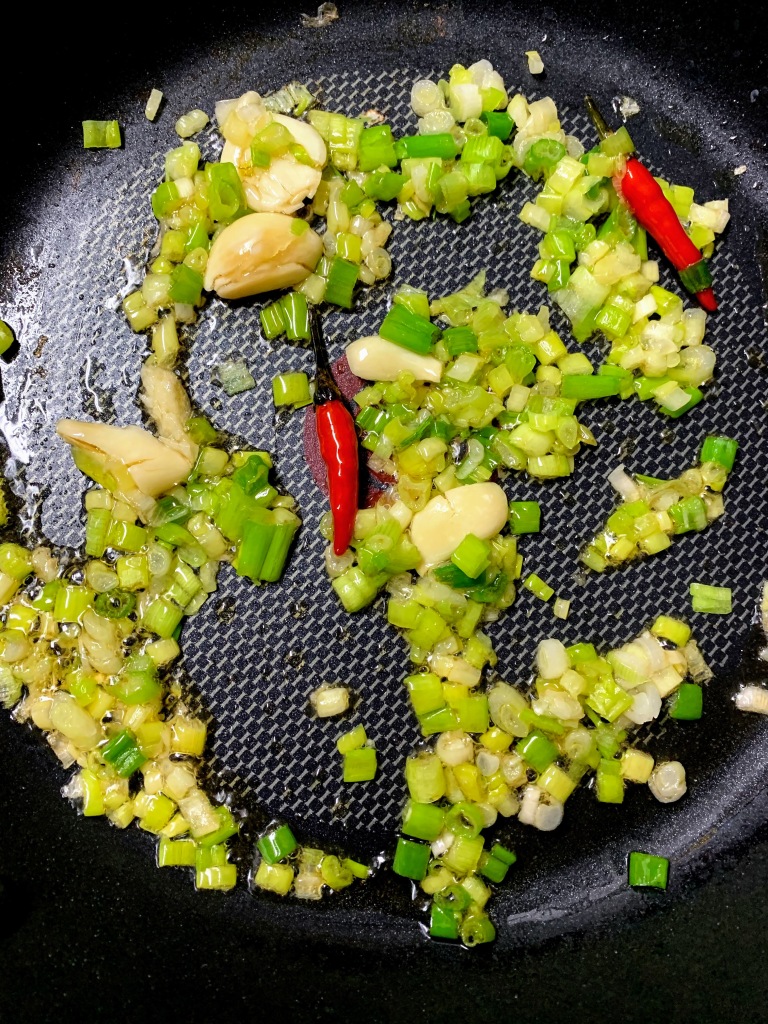
- 4 scallions
- 5 garlic cloves – 2 minced, 3 smashed
- 2 Thai bird chilies
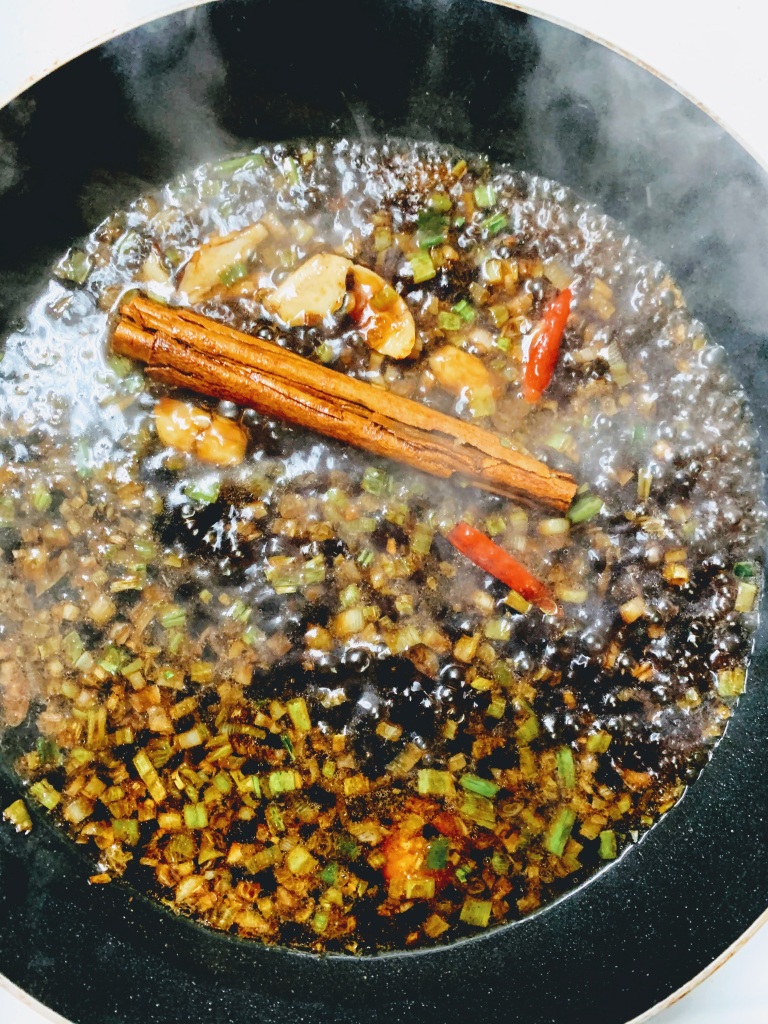
- 1 cinnamon stick
- 1/4 cup rice vinegar
Instructions
- Pour 1/4 cup soy sauce, 1 tbsp brown sugar, minced garlic, and 1 tsp five spice powder in mixing bowl. Add wings and toss.
- Chill wings in fridge for 1 – 8 hours. (I did 1.5hrs).
- Add oil to pan over medium-high heat.
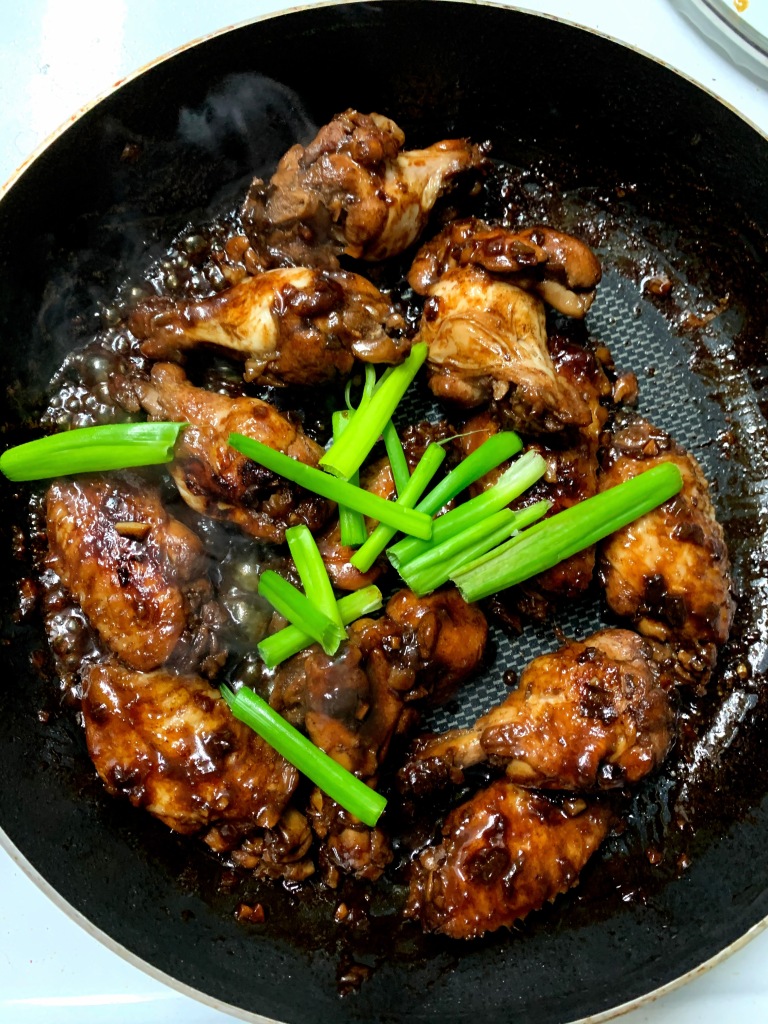
- Stir in scallions, smashed garlic, chilies for a couple minutes.
- Add in cinnamon stick, remaining brown sugar and five spice. Give that a quick stir.
- Pour in remaining soy sauce and 3/4 cup water.
- Bring to a boil then reduce heat to medium-low.
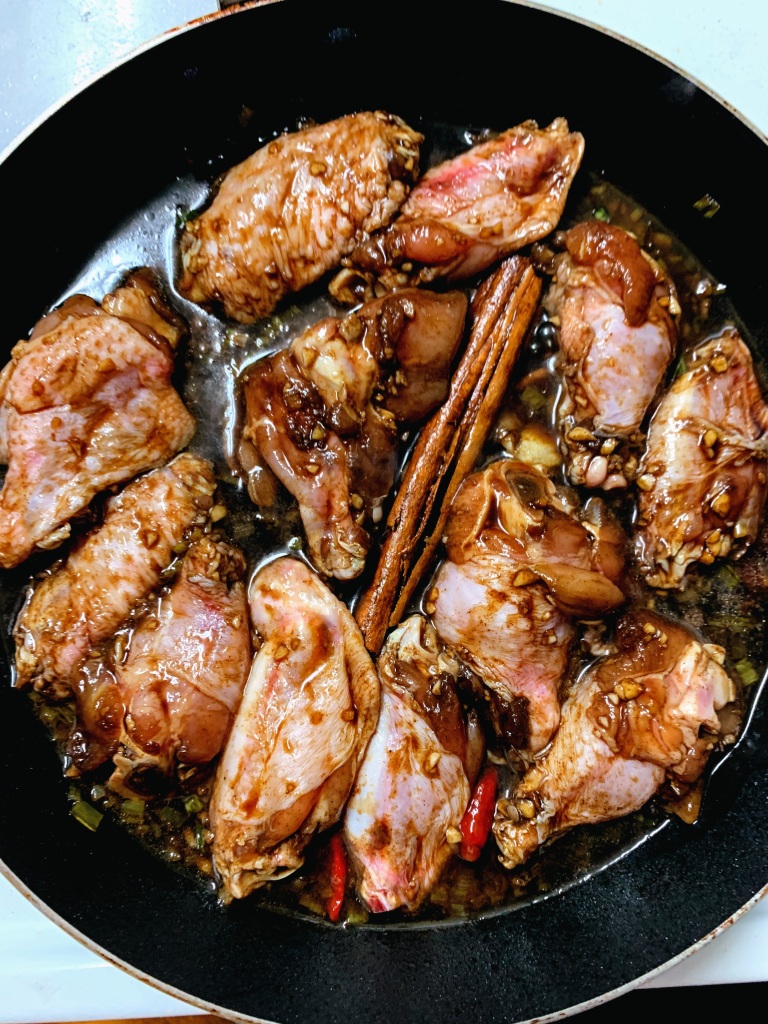
- Add in chicken wings. Do not pour in marinade.
- Pour rice vinegar over the wings.
- Bring to a simmer, cover and let cook for 15 minutes.
- Flip chicken over, cover and let cook for another 5 minutes.
- Remove chicken and solids (chilies, cinnamon, and smashed garlic).
- Continue to cook sauce over high until thickened.
- Toss wings back in. Add in extra scallions if you want. Mix until thoroughly coated.
- Serve with a side of jasmine rice.
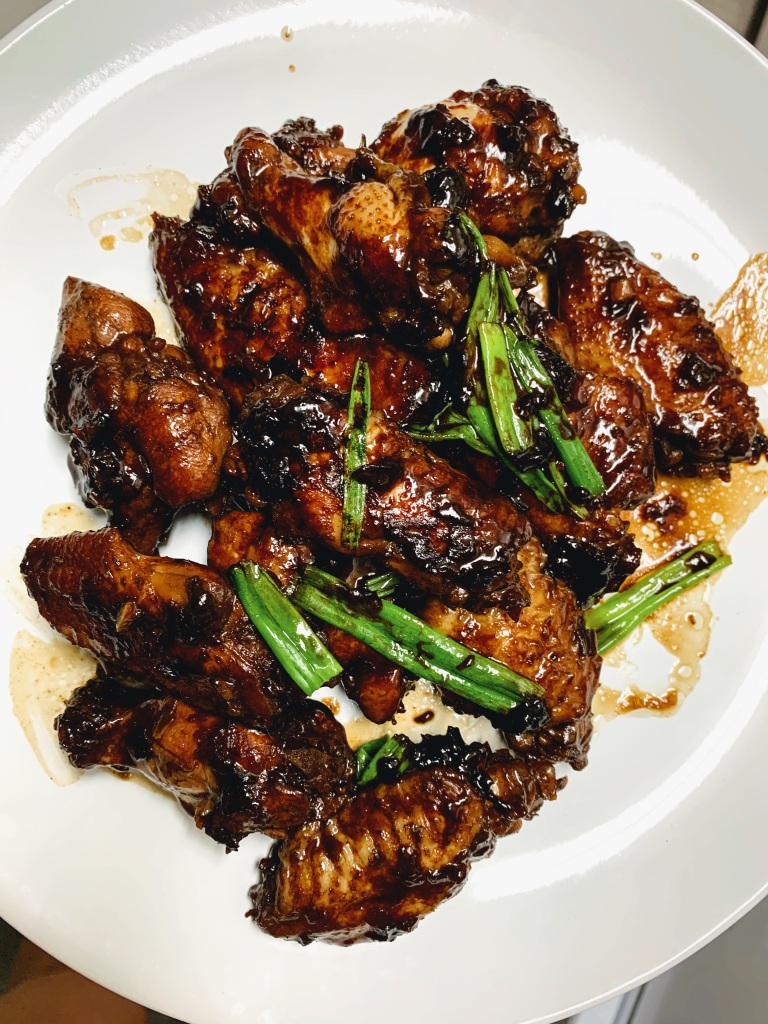
And Voilá! Tasty savory chicken wings! I didn’t have a metal sieve to strain out all the solids before reducing my sauce – so you’ll see all the leftover onions and garlic left things much chunkier than what you see on that Bon Appetit spread. These are so good though, even as modified as they were. They were savory and flavorful without being overly salty. With a little side of white jasmine rice, it was perfecto!
Bee’s Score: 4.5 / 5
My Score: 4 / 5
Happy Eating!


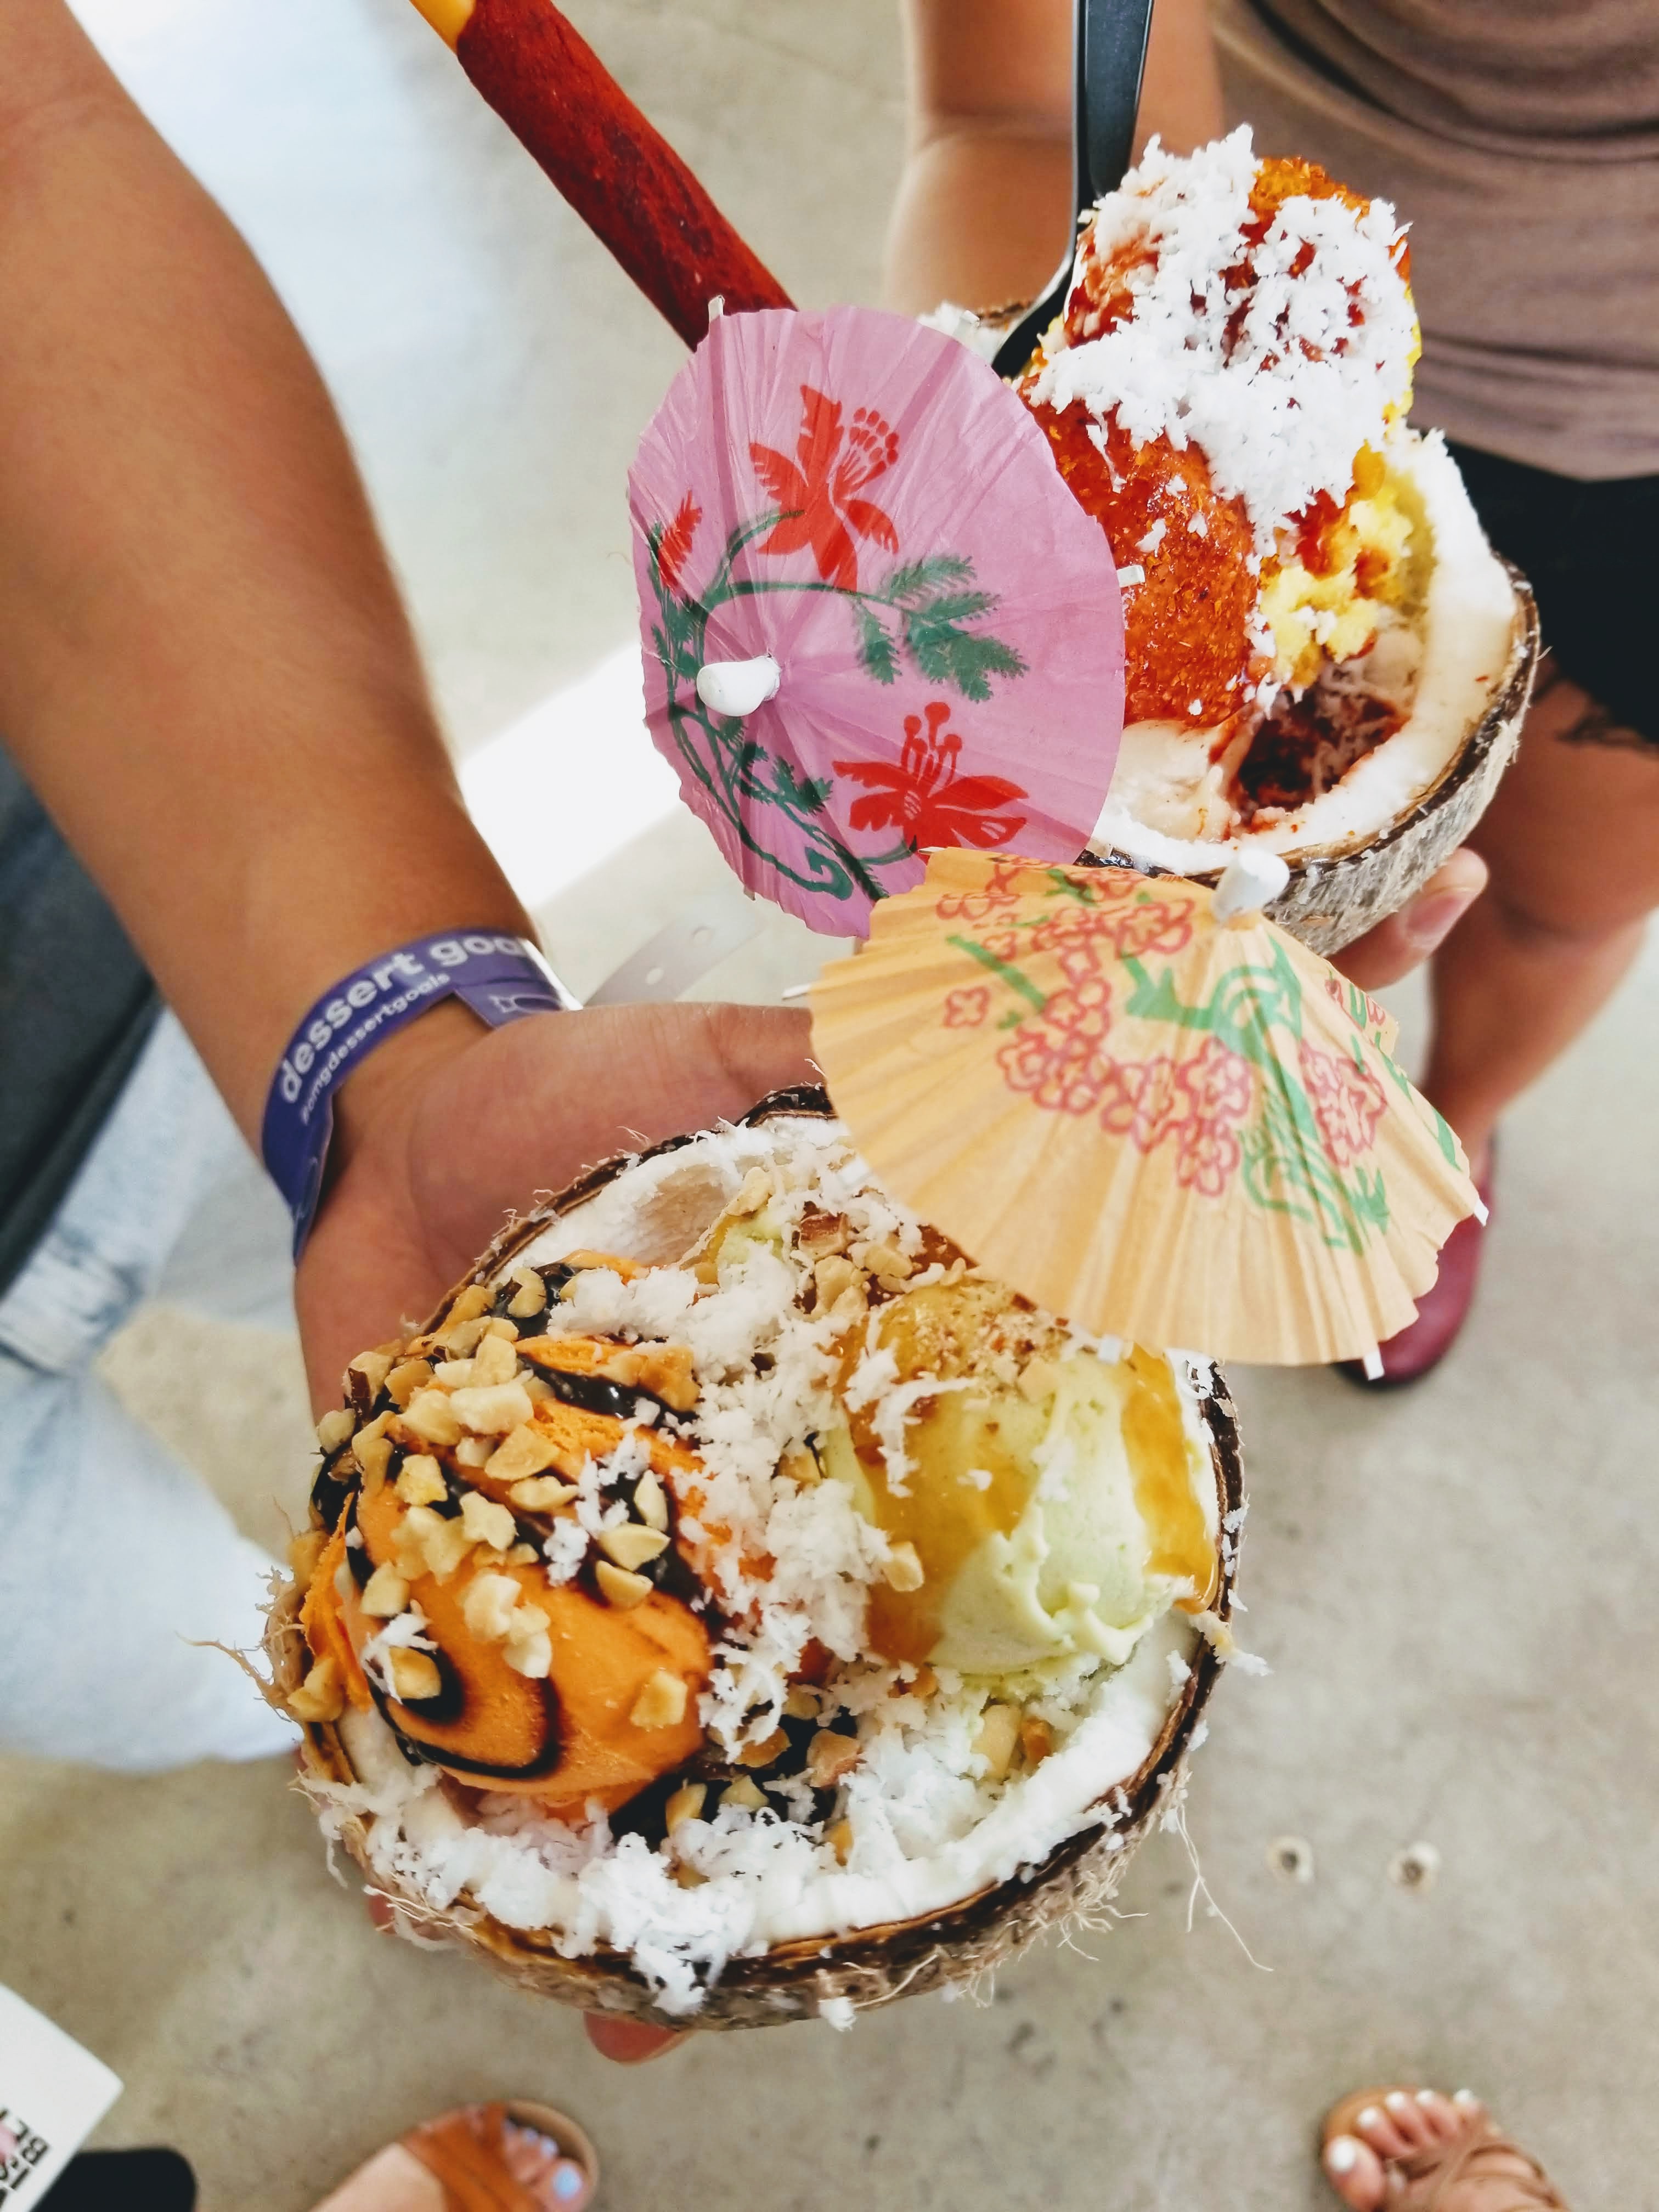
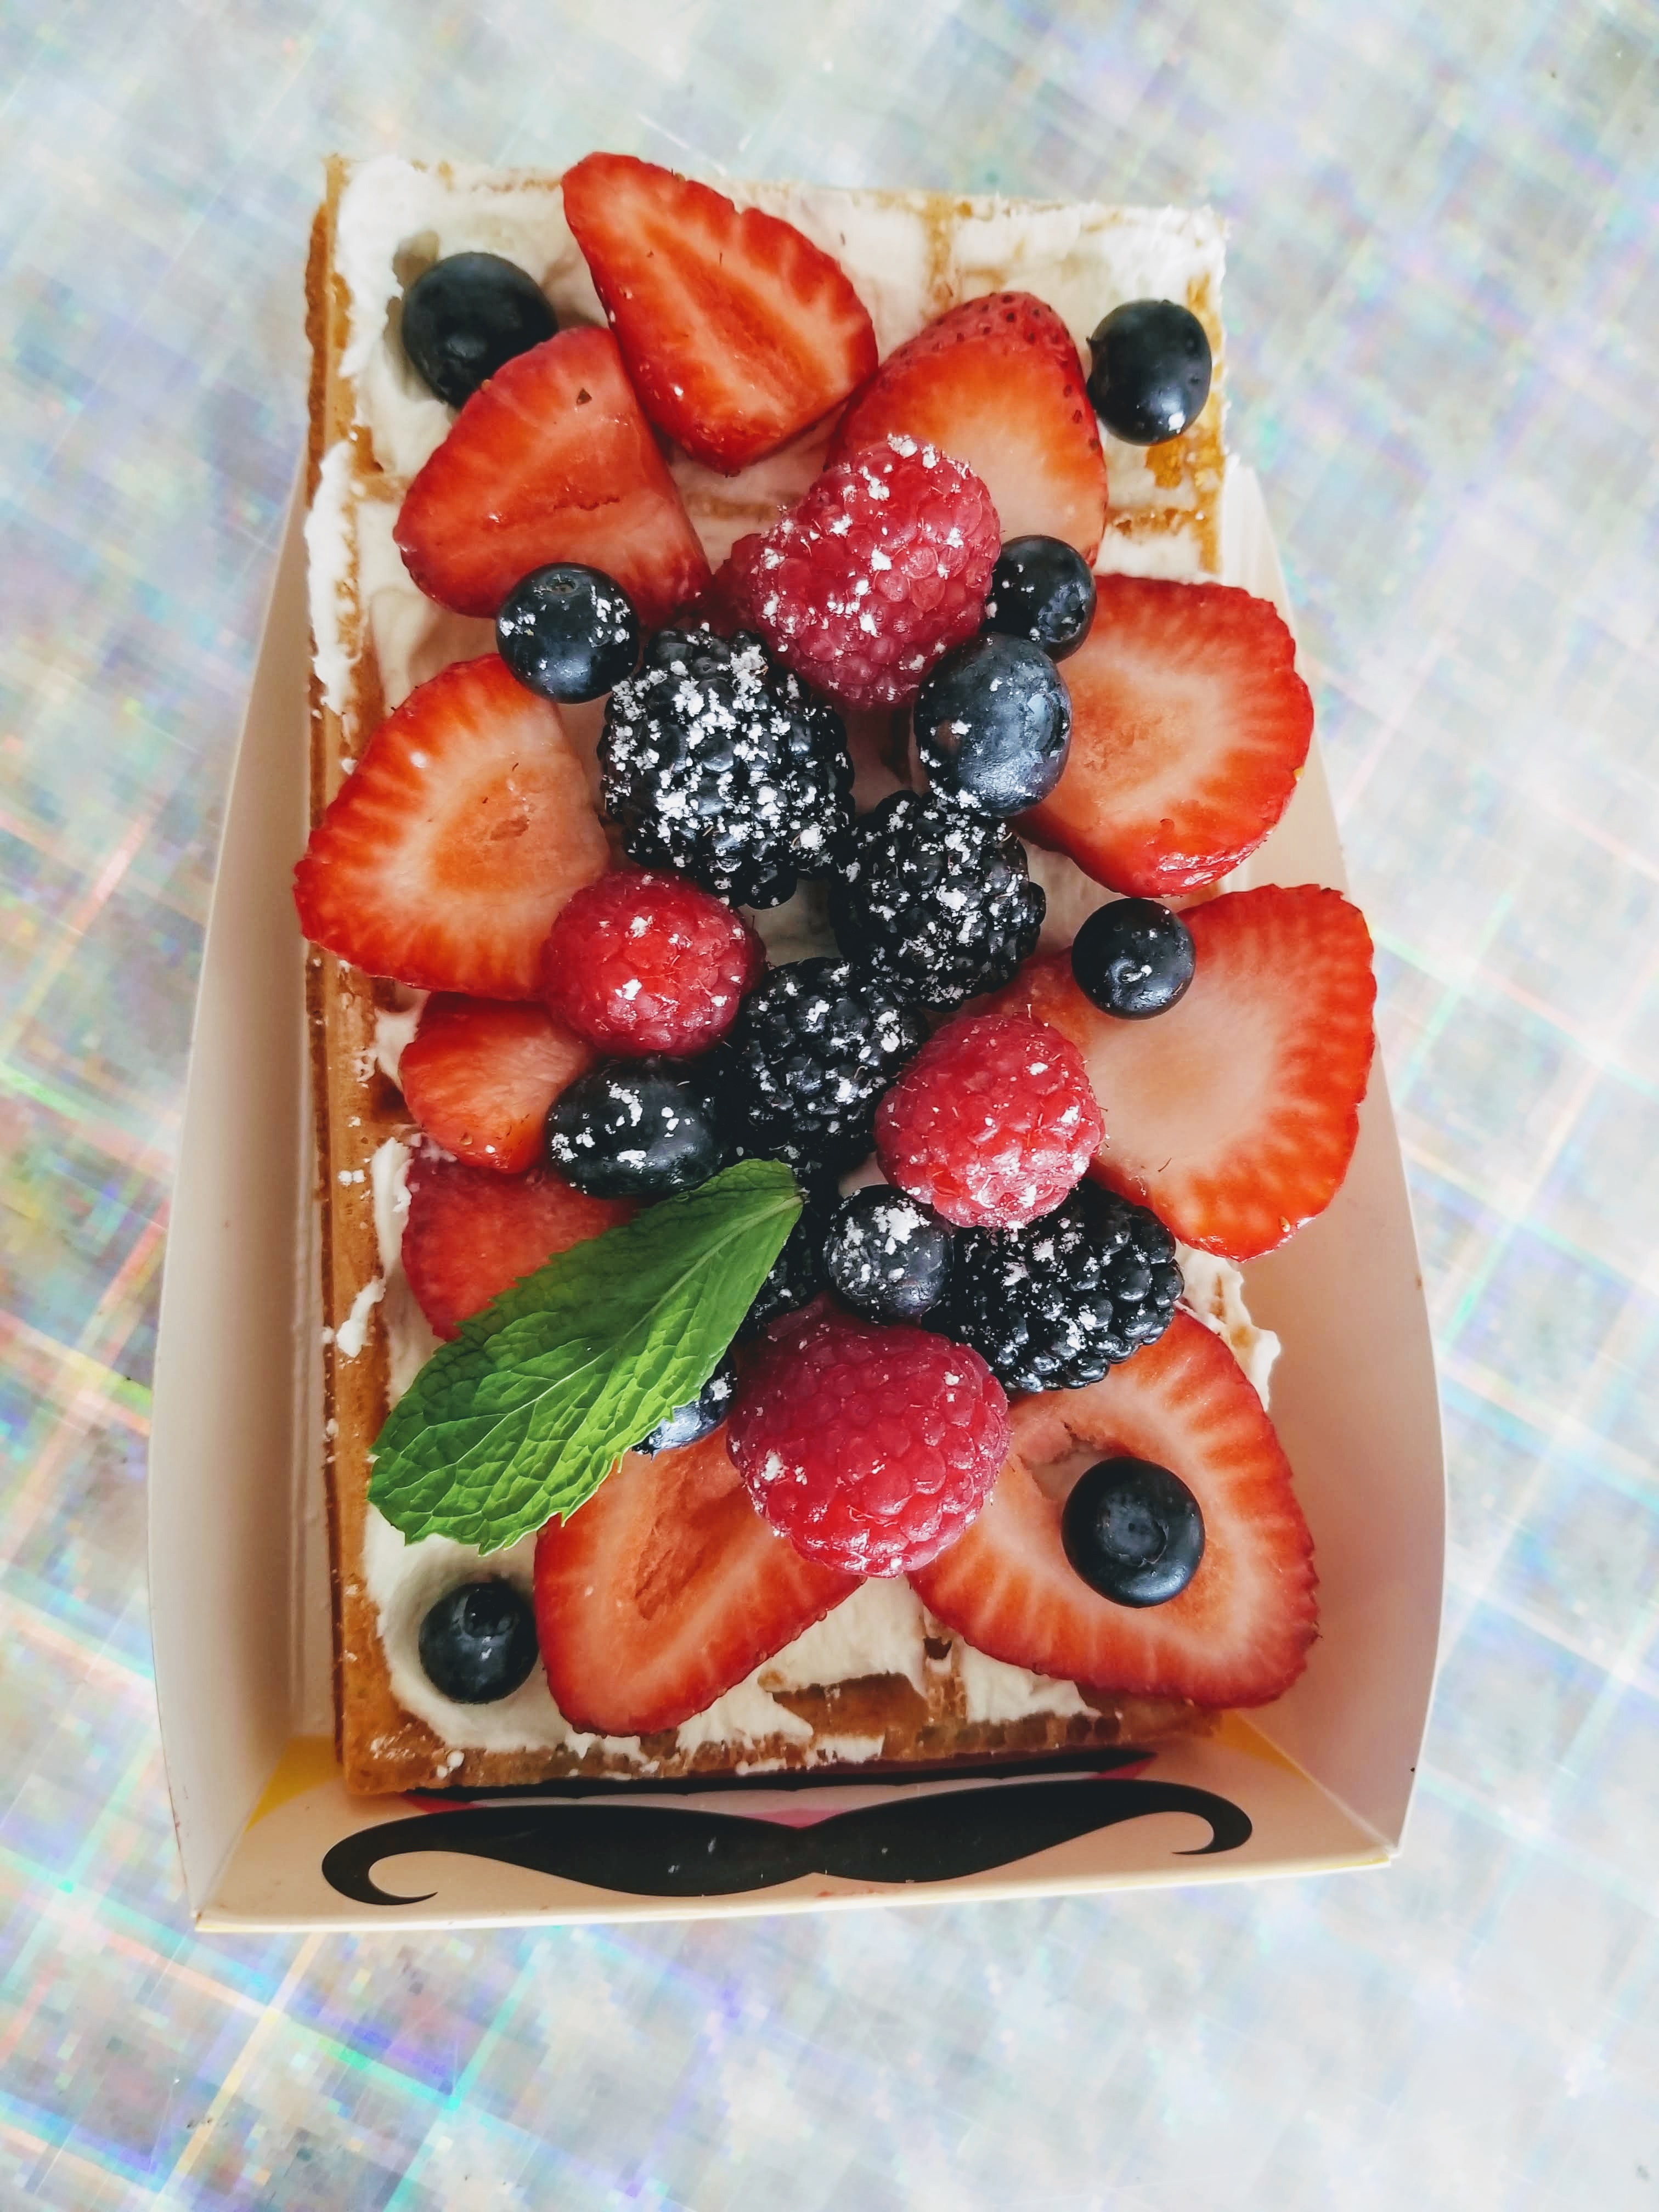
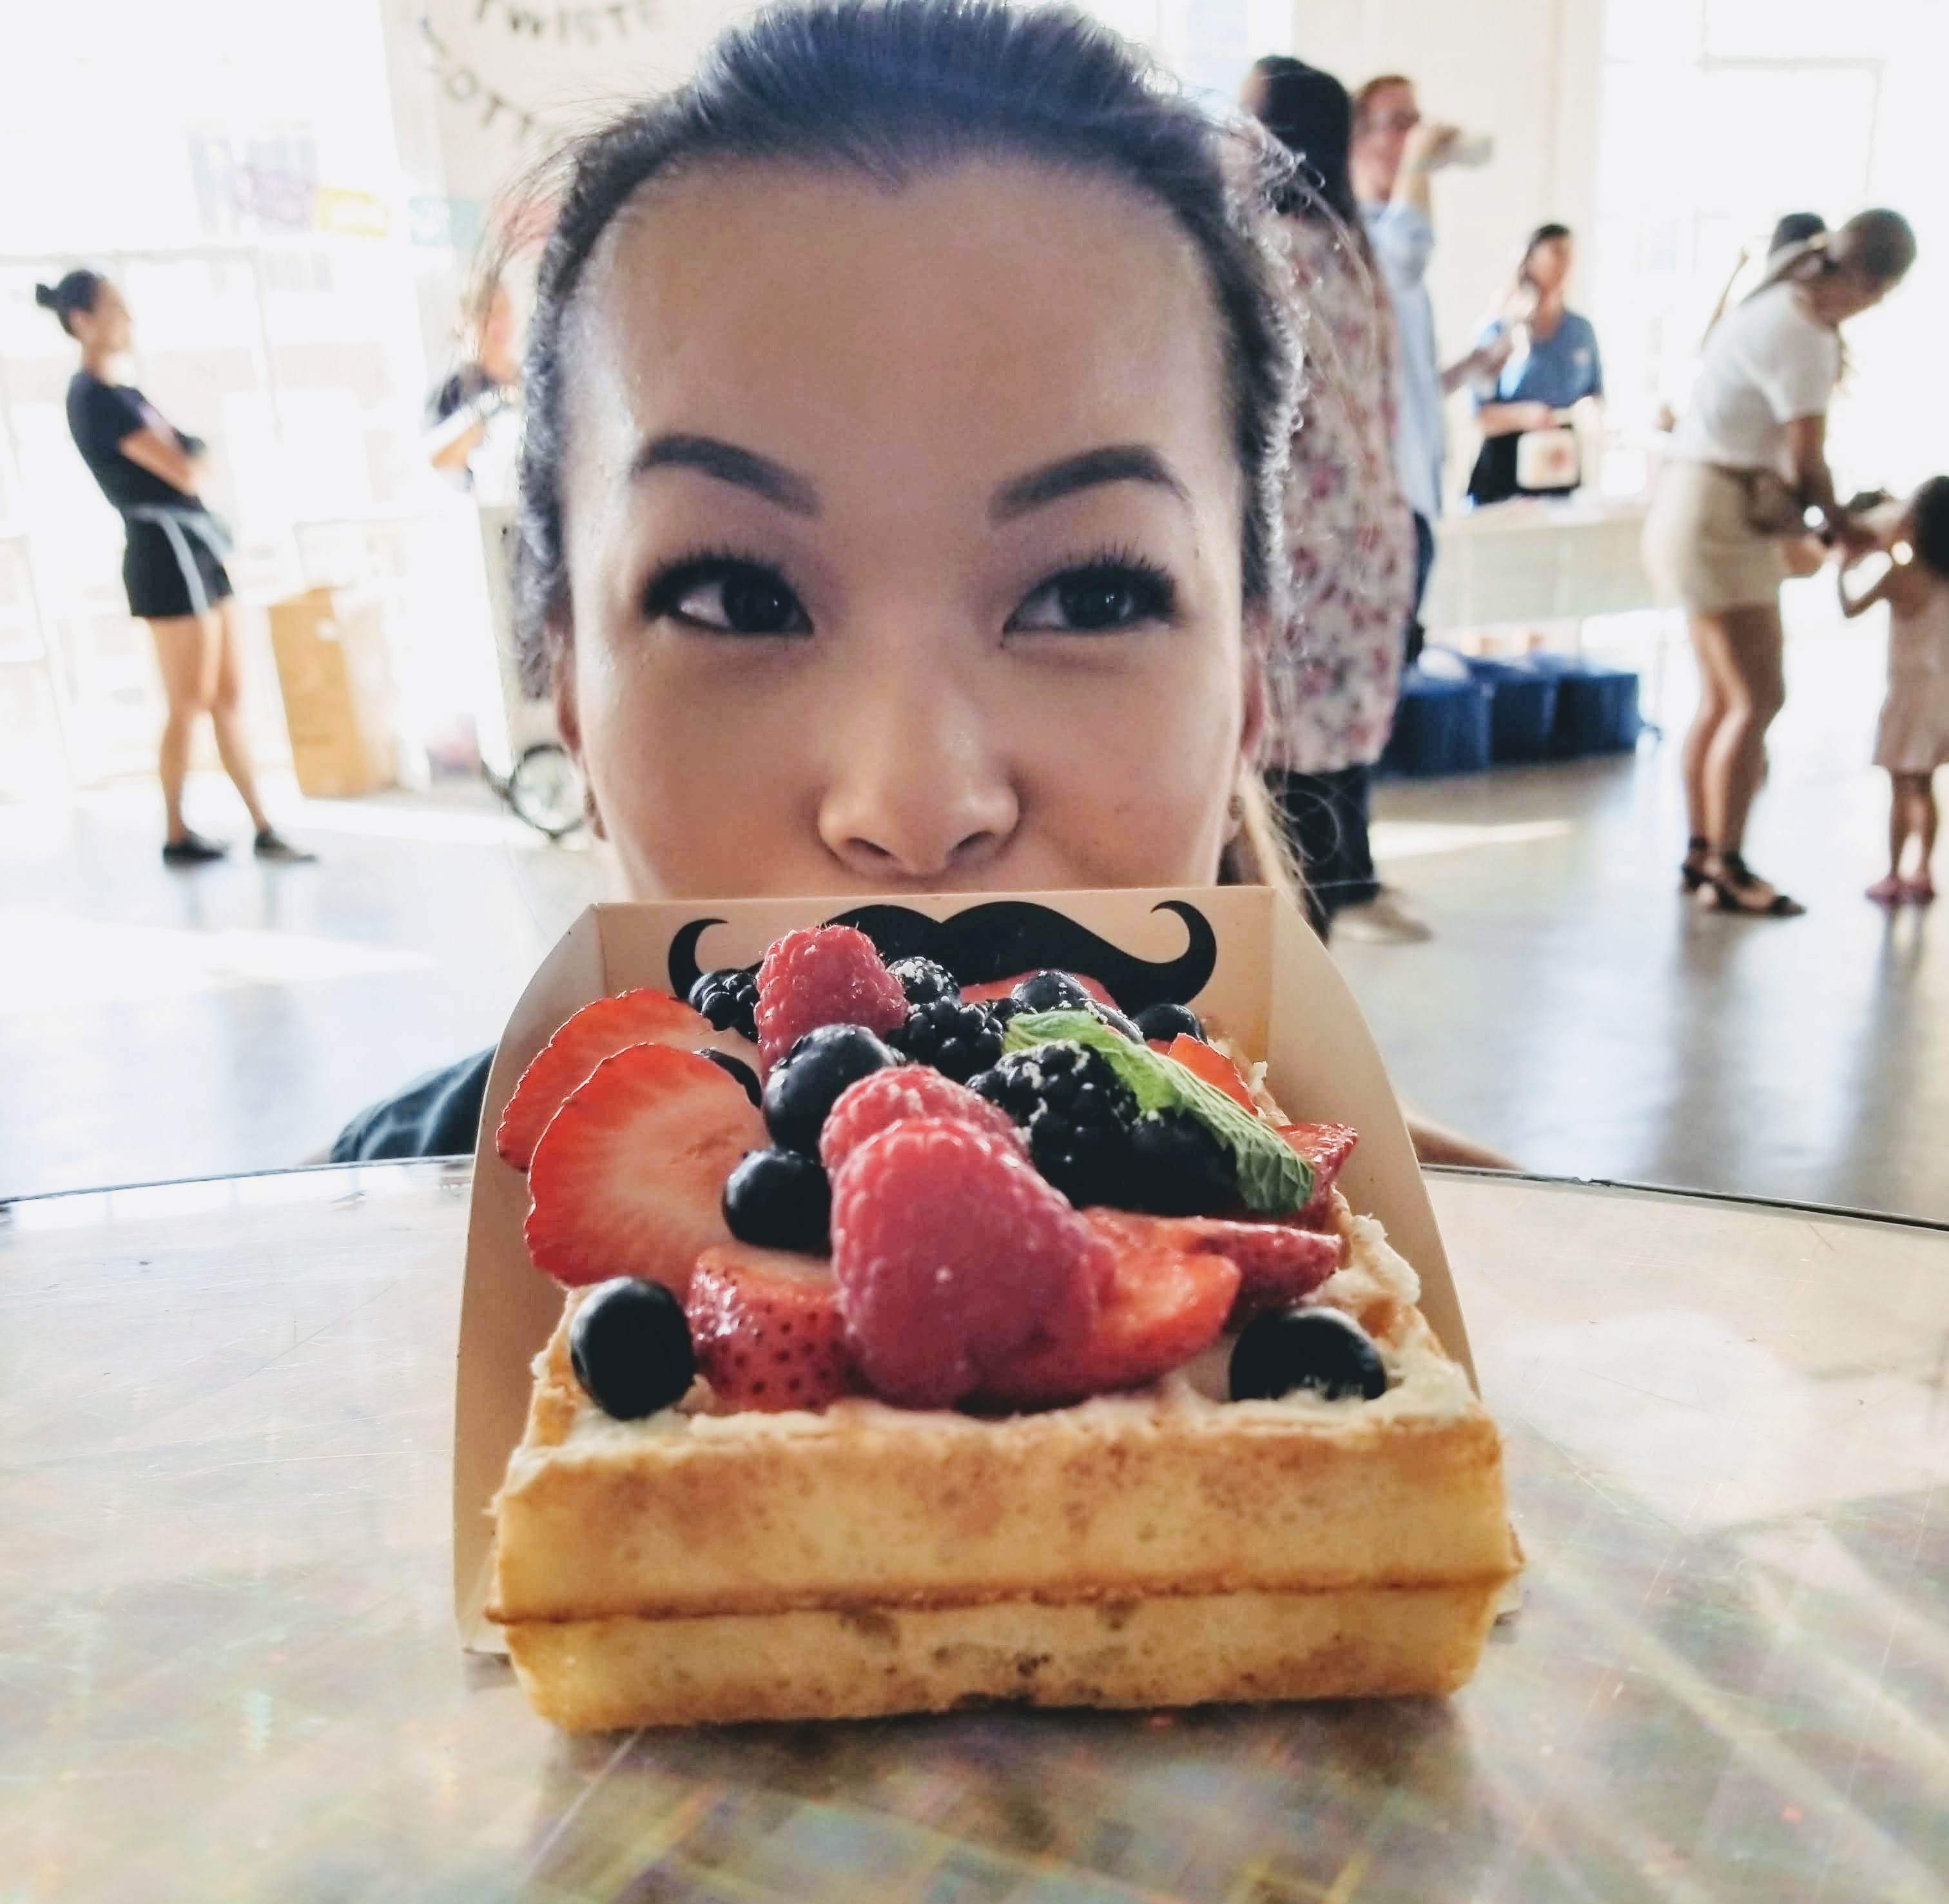
 The Museum of Ice Cream. Candytopia. Smorgasburg. Dessert, food festivals and art exhibits are all the rage now. Anything for the gram, right?